

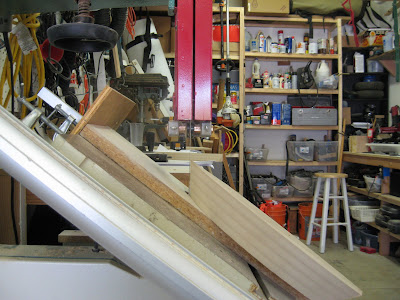

One of the most complicated parts on R2 is the skirt underneath. There are a lot of compound angles, curves, and so one. I was baffled at first. A lot of builders seem to be roughing out an under frame in plywood and then scabbing together a surface in the rough shape with styrene, foam, MDF, or whatever. Several of the histories of this part of the build I looked at looked like very work intensive nightmares, with mediocre results. So I ruminated about it. Then the lightbulb went off.
For the foundation of the skirt (here's a picture of it upside down) there are only 4 cuts--two beveled sides and two curving beveled ends. So I cut 4 pieces of MDF, and glued them together in a stack for a blank. If you've done this before, you know that the pieces drift when you start to clamp them together. One solution is to predrill a screw hole down through all four before they are glued, put the screw in and then take it out. Then after they are glue, put the screw back in. This will line them up. Or you can put clamps on the sides and ends while you are placing clamps on the top and bottom to hold them in place. I cut my blanks over sized so that some slippage wouldn't be a problem.
Once that's dry. I cut the edges and ends and got them all squared up. Then for the side bevel cuts. Two passes through the table saw set to 37 degrees gave me good results on those.
Now for the real Jedi trickery. My bandsaw has a tilting table. I set that over to 37 degrees with the circle jig installed on it. This took some time to set up, but it was worth it. I also put a new, fine tooth blade on it and got it all tuned up. The radius of the circle cuts on the top of this piece of the skirt is 6.75" I think. So I set the circle jig for 6.75 from pin to edge of blade. Again this took some time and some test runs to set up. Then once I had it all set up, cutting the curving bevel around the edges was like butter. To be honest, I had to do this twice before I got one I was really happy with. With some minor sanding to remove the saw marks this base looks great. Then I cut a cap according to specs, and fashioned the little rib pieces.
Next I'll glue and brad nail all of these one, and I think I'll just cut through the edge into the middle to cut out the square center for the foot. I can glue the cut back together and hide it behind one of R2s legs, I think. It'll be a lot easier to do it that way than to try to rout down through 2.5 inches of material and get it all straight and clean.


2 comments:
Very nice work, Matt! Thanks for sharing this method and technique, it benefits everyone to see different approaches to building the various parts.
-Victor
Awesome!!! very nice I am working on my skirt also, just not sure what I am going to use. I will be checking your Blog for tips.
Brenda
Post a Comment