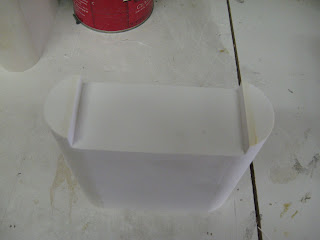
Lots of little details to work on. But that's a relief after the huge assembly of the body and legs. I bought some 1" by 1/8" aluminum stock a while back with the intention of using it for the foot strips. I cut the strips, laid out the measurements, and put the beveled ends on them for the three feet.
I've been puzzling over attachment for the a while, though. I don't want to just glue them to the foot shells. It would work, but it would be semi-permanent and I wouldn't be able to paint the shells again if I want. And I have it in the back of my mind that I'll repaint these shells shortly because of the clear coat fiasco. I'll probably strip the clear coat off, rough them up a bit, and then put gloss white on them to match the body.
So I thought I might be able to cut some pieces of threaded rod, mount them on the back of the strips, drill holes in the shells, and then put nuts on the inside to hold them in place. I drilled shallow holes (not all the way through!) on the back and tried to use JB Weld to glue these in place. It didn't work too well. If you clean the lump of JB Weld away from the base to they fit down tight on the shells, there's not enough epoxy to really grab and then come off. I'm still working on it. Here's pictures of them in place:

I spent some time the last few days building these frame mounts for the utility arms to go inside the frame. Here are the pieces of the design I settled on:

Assembled, it looks like this:

And then mounted inside the frame it looks like this:

The real trick of it, obviously, was getting all of the measurements exactly right so that the utility arm sits flush to the outer skin on the outside, and lined up vertically and horizontally just right with the utility arm shaped hole in the skins. That took some work, and I did a couple of tries before I got them right. A virtue of this design is that the back plate that screws into the inside of the frame above and below the slot for the utility arm can be slide right or left until the placement is just right, then I could drill pilot holes and put the screws in.
Once I got them in, I drilled another pilot hole into the bracket from the front and put a screw into it. This acts as a stop for the utility arm to keep it from swinging into the body. I can adjust the screw in or out to get the utility arm to sit exactly flush with the skins. I thought that was clever. Seems to work well:


I also took a piece of expanded cell PVC board, like I used on the battery boxes, to make an inside wall piece so that it's a closed chamber behind the utility arms. (It's not in these pictures.) I heated it up with a heat gun and bent it to fit flush inside the inner wall of the frame. So it screws right on over these brackets on the inside and gives the utility arms a finished look from the outside. I thought heating it up for the curve was clever. I tried to do it with a curved piece of wood but it was too bulky and heavy.